Making Crepes
Making crepes is not hard. If you can make pancakes, you can make crepes.
It is no problem to make a half-batch or a double-batch. This recipe is adapted from Crepe Cookery, by Mable Hoffman. I learned it from my mother, who is an excellent crepe maker. I use a whisk, but a mixer or blender would certainly work just fine. I'm still not used to the novelty of mixers after years of not having one.
Note: You can click on any of the pictures to see a larger version.
Tips
Before we start, I have a few tips:- Don't worry about getting the thinnest possible crepes. I have had people tell me that when they make crepes, they aren't thin enough. Crepes don't need to be perfectly thin, and they often aren't. When I ate crepes from a street vendor in Paris, they were about the same thickness as the ones I make, and they were not thin as paper. Relax, your crepes are not too thick.
- You don't need a special crepe pan. You can buy very fancy skillets or electric pans. If you have a small non-stick skillet, you will get perfectly nice crepes, and you'll have one less pan crowding up your kitchen.
- You'll probably mess up a couple of the crepes when you make a batch. So what? I've made lots of crepes, and I still mess up at least one per batch. Sprinkle some sugar on it and enjoy it as a snack. Don't let it worry you.
- If you're making enough crepes to serve a lot of people, there are three easy ways to handle it. First, you can stick the crepes on a plate in a barely warm (200°F) oven, where they'll stay warm until you are ready to assemble them. Second, you can serve them as you make them. When serving family on a busy night, it's sometimes okay if people eat them as they are served. Third, it's not a big deal if the crepes cool down a little bit before you eat. If the filling is warm, it makes up for it.
Ingredients
To make about 20-24 crepes, you'll need a few ingredients:
- 4 eggs
- ¼ teaspoon salt
- 2 cups flour
- 2 ¼ cups milk
- ¼ cup (½ stick) melted butter
Utensils
- A whisk, wooden spoon, fork, electric mixer, or eggbeater
- A bowl to mix the crepe batter
- Plastic spatula
- 8 inch non-stick skillet
- A tupperware to store leftover bater
Making the Batter
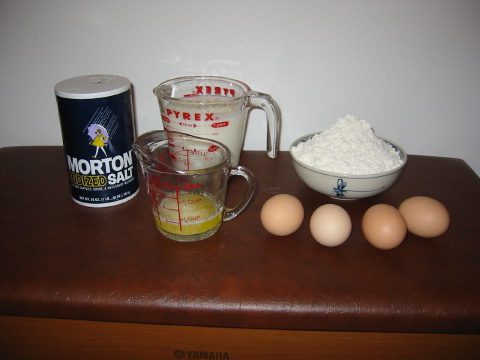 1. Gather your ingredients.
 2. Break four eggs into a bowl.
 3. Add 1/4 teaspoon of salt to your eggs.
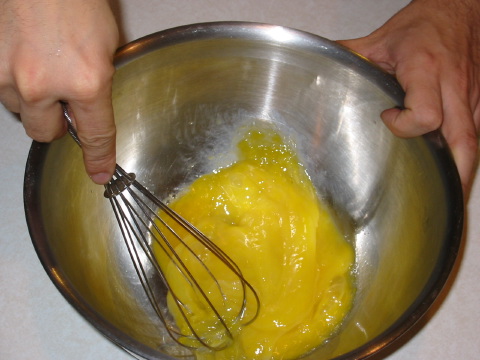 4. Whisk your eggs and salt together until the egg looks uniformly yellow.
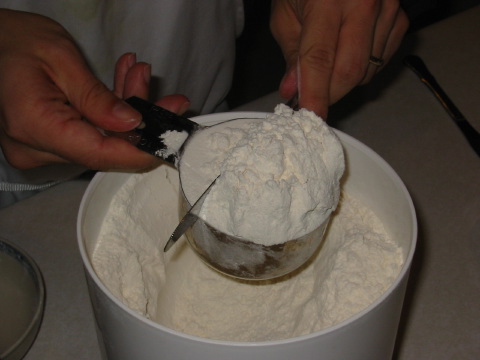 5. Measure two cups of flour.
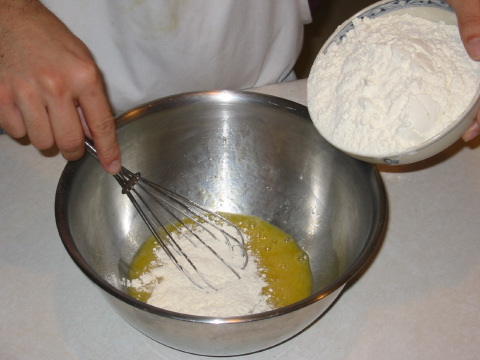 6. Add some of the flour to the egg mixture.
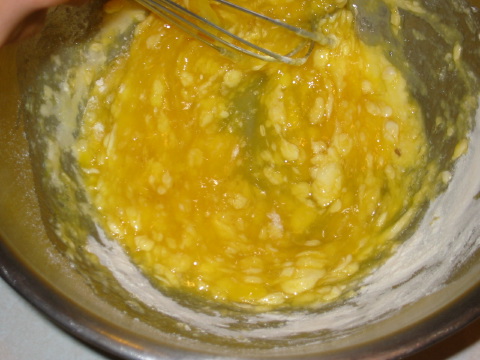 7. Whisk the flour into the eggs. It will be a bit lumpy right now, but that's okay.
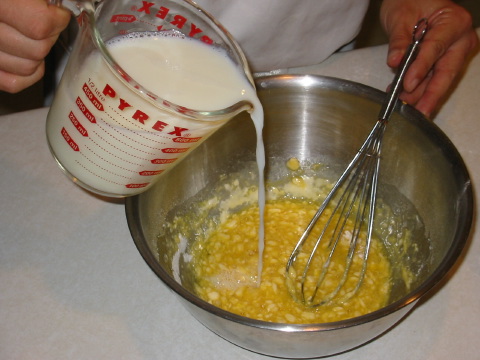 8. Whisk some of the milk into the batter. It will get thinner. Keep
adding milk and flour alternately until you've added it all.
8. Whisk some of the milk into the batter. It will get thinner. Keep
adding milk and flour alternately until you've added it all.
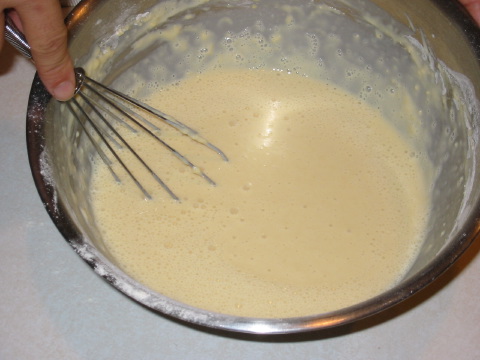 9. Whisk the batter until it is smooth, like it looks here. It
shouldn't take more than a minute or two to whisk it smooth, from the
time you started to add the flour.
9. Whisk the batter until it is smooth, like it looks here. It
shouldn't take more than a minute or two to whisk it smooth, from the
time you started to add the flour.
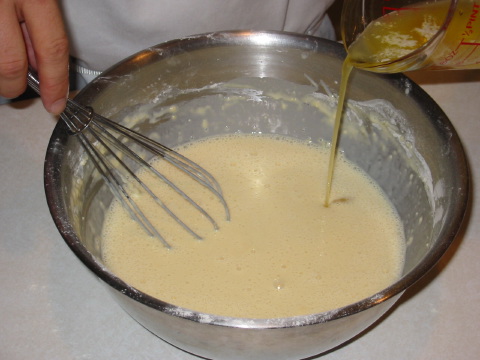 10. Add the melted butter to the batter, and again whisk it until it's
smooth.
10. Add the melted butter to the batter, and again whisk it until it's
smooth.
 11. Cover the batter.
 12. Put the batter in the refrigerator
At this point, your batter is ready to go, and you can begin making the crepes whenever you are ready. You can the batter a few hours or even a day in advance of when you make the crepes. If you let it sit for a long time, the butter will separate from the rest of the batter, but you just need to whisk it for ten seconds or so, and it will be ready to use. I've kept my batter for several days, and it has been fine. After a couple of days, the batter gets a bit darker in color, but the crepes still taste fine.
If I'm making the batter right before I make the crepes, I refrigerate the batter while I prepare the filling.
Cooking the Crepes
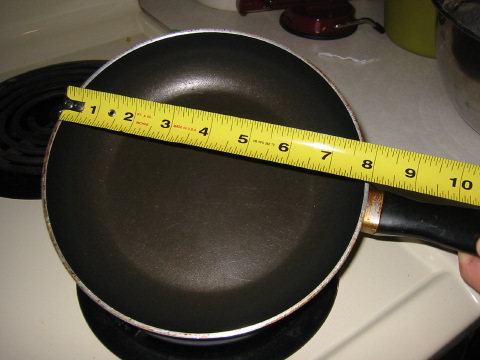 1. Select an eight inch non-stick skillet. You don't need a fancy
crepe pan. It's okay to make larger crepes if you want to, just use
more batter.
1. Select an eight inch non-stick skillet. You don't need a fancy
crepe pan. It's okay to make larger crepes if you want to, just use
more batter.
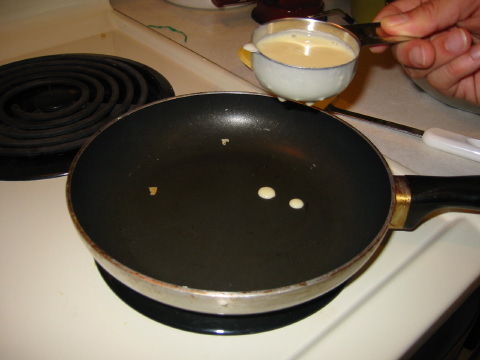 2. Preheat your pan on medium heat. I use about one-fourth of a cup of
batter to make a crepe in this size pan.
2. Preheat your pan on medium heat. I use about one-fourth of a cup of
batter to make a crepe in this size pan.
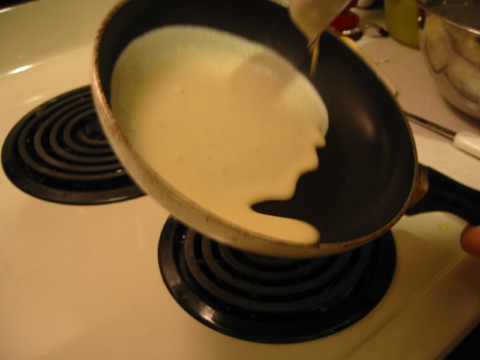
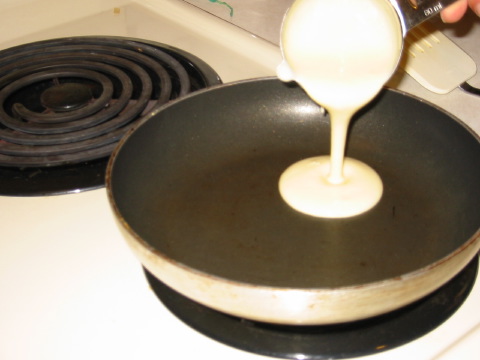 3. Pour the batter into the pan
 4. As you pour the batter, twirl the pan around.
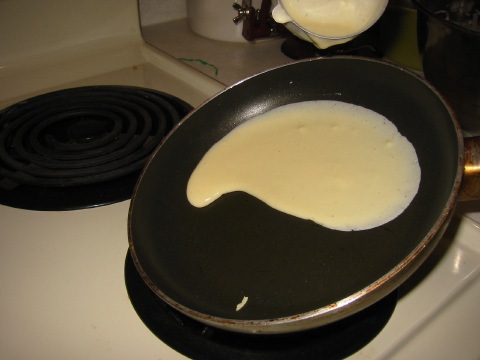
 5. As you twirl the pan, the batter coats it and makes the crepe. If
you put in too little batter to begin with, pour in some extra batter to fill
in the gaps.
5. As you twirl the pan, the batter coats it and makes the crepe. If
you put in too little batter to begin with, pour in some extra batter to fill
in the gaps.
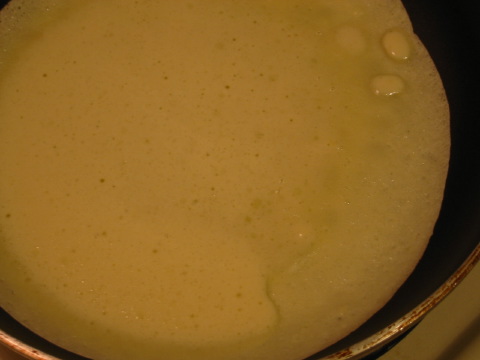 6. As the crepe cooks, it changes in appearance. The batter on the
left looks moister and hasn't set. On the right, the batter has set. It is still
a bit moist. You can usually see a lace pattern developing on the underside
of the crepe.
6. As the crepe cooks, it changes in appearance. The batter on the
left looks moister and hasn't set. On the right, the batter has set. It is still
a bit moist. You can usually see a lace pattern developing on the underside
of the crepe.
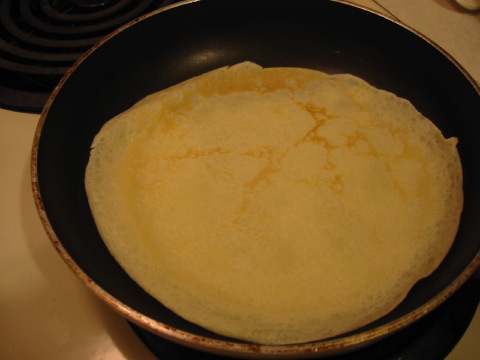
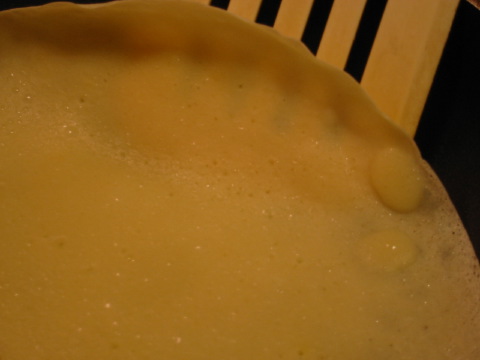 7. This is what the crepe looks like when it has set. Notice you can
see the spatula through the crepe, and this isn't a particularly thin crepe
either. The crepe will also usually slide around when it is ready. (It make
stick a bit a the edges though.)
7. This is what the crepe looks like when it has set. Notice you can
see the spatula through the crepe, and this isn't a particularly thin crepe
either. The crepe will also usually slide around when it is ready. (It make
stick a bit a the edges though.)
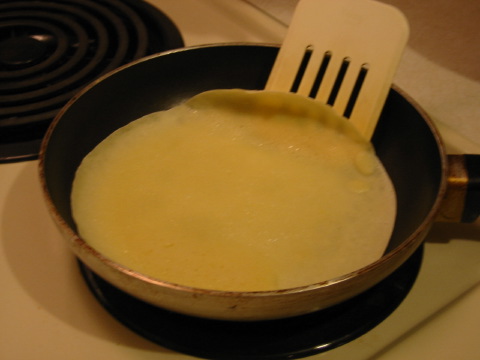 8. Slip the spatula under the crepe. Sometimes you need to poke it a
bit. If it helps to pick up the edge of the crepe with your fingers, do it.
8. Slip the spatula under the crepe. Sometimes you need to poke it a
bit. If it helps to pick up the edge of the crepe with your fingers, do it.
 9. Flip the crepe over. Look at that nice lace pattern on the crepes.
If you're skillful, you can flip the crepe with a quick action of the
wrist and no spatula. I'm not that skillful even though I can juggle.
9. Flip the crepe over. Look at that nice lace pattern on the crepes.
If you're skillful, you can flip the crepe with a quick action of the
wrist and no spatula. I'm not that skillful even though I can juggle.
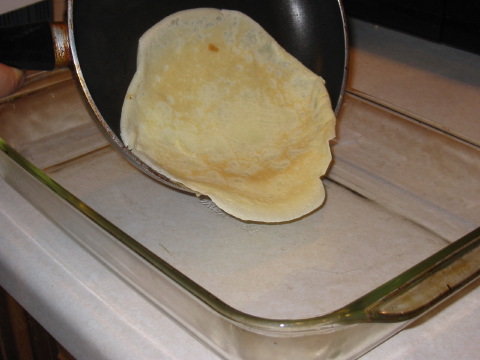 10. After the second side has cooked for maybe twenty seconds, slip it
out of the pan onto a plate for serving, or into a baking dish that you
can put into a warmed (200°F) oven.
10. After the second side has cooked for maybe twenty seconds, slip it
out of the pan onto a plate for serving, or into a baking dish that you
can put into a warmed (200°F) oven.
 11. Not all crepes come out in pretty circles. Usually my first one
looks awful and falls apart because I didn't let the pan get hot
enough. That's okay, sprinkle some sugar on it...
11. Not all crepes come out in pretty circles. Usually my first one
looks awful and falls apart because I didn't let the pan get hot
enough. That's okay, sprinkle some sugar on it...
 12. ...and feed it to someone you love.
Once you have prepared the crepes, you can fill them and eat them.
This web page is copyright © 2002 by Alain Roy. Please do not copy this page without his permission.